Settings
Vehicle groups
Organise your fleet into a tree of groups - create and nest groups, move a group under a different parent, and move vehicles between groups. Groups are the backbone of who can see what.
Walkthrough Organise your fleet into groups5 screenshots
- Vehicle groups live under Settings
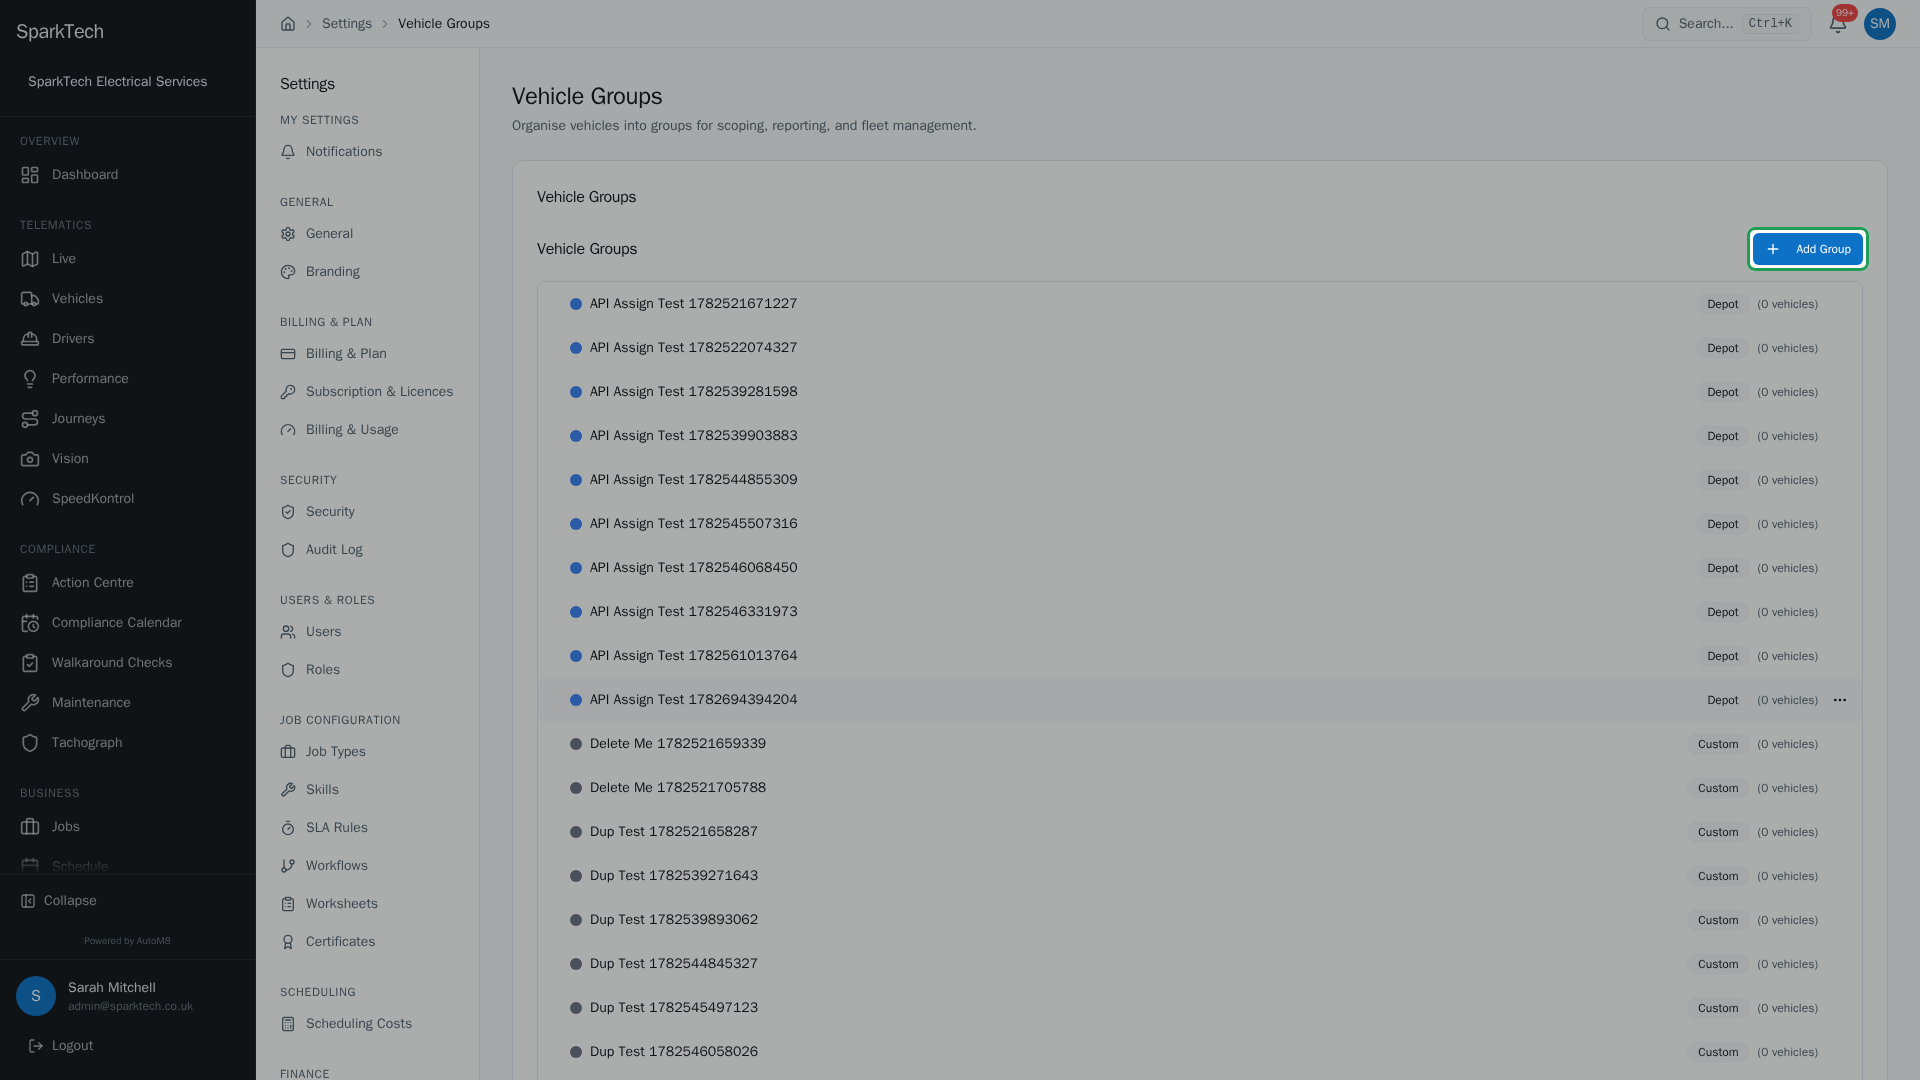
Go to Settings > Vehicle Groups. Groups let you organise the fleet and control who can see which vehicles.
- Create a group
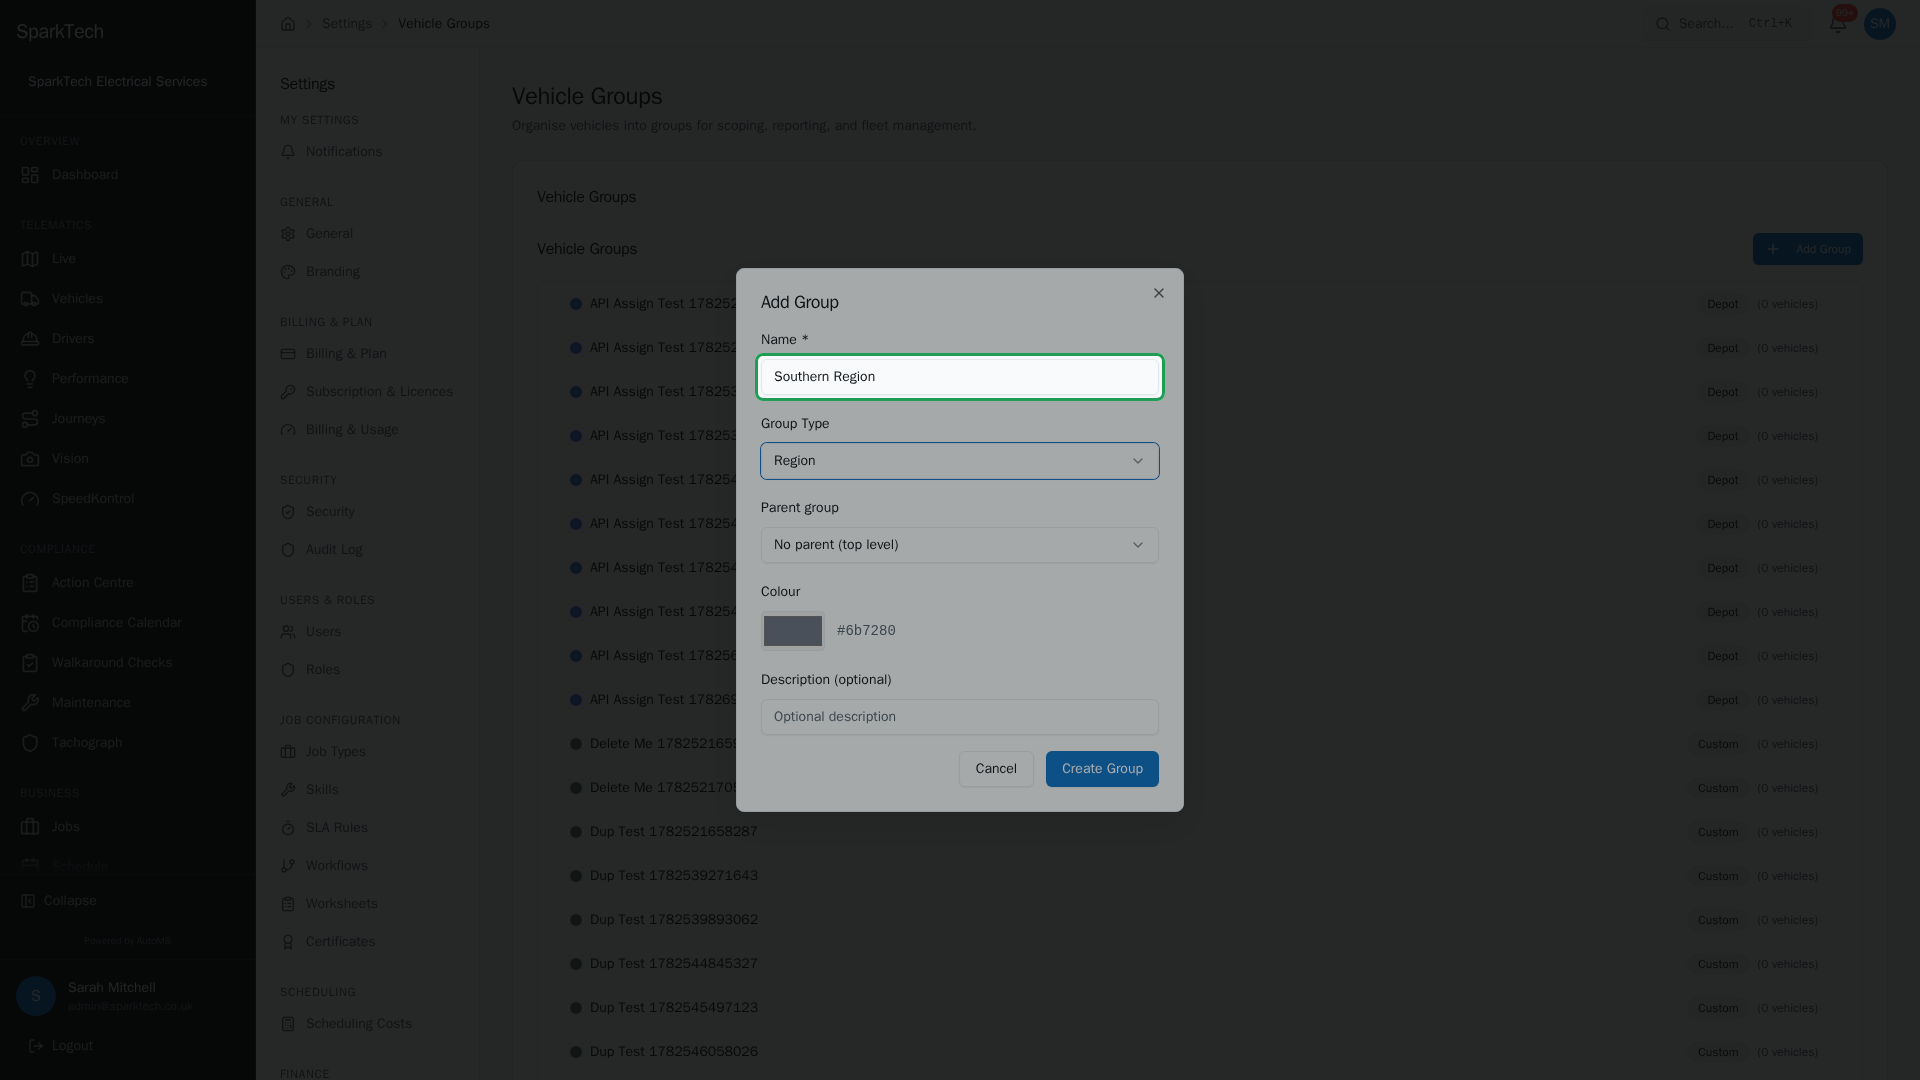
Choose Add Group, give it a name and a type. A group can be a depot, a region, a department or your own custom kind.
- Nest a group under a parent
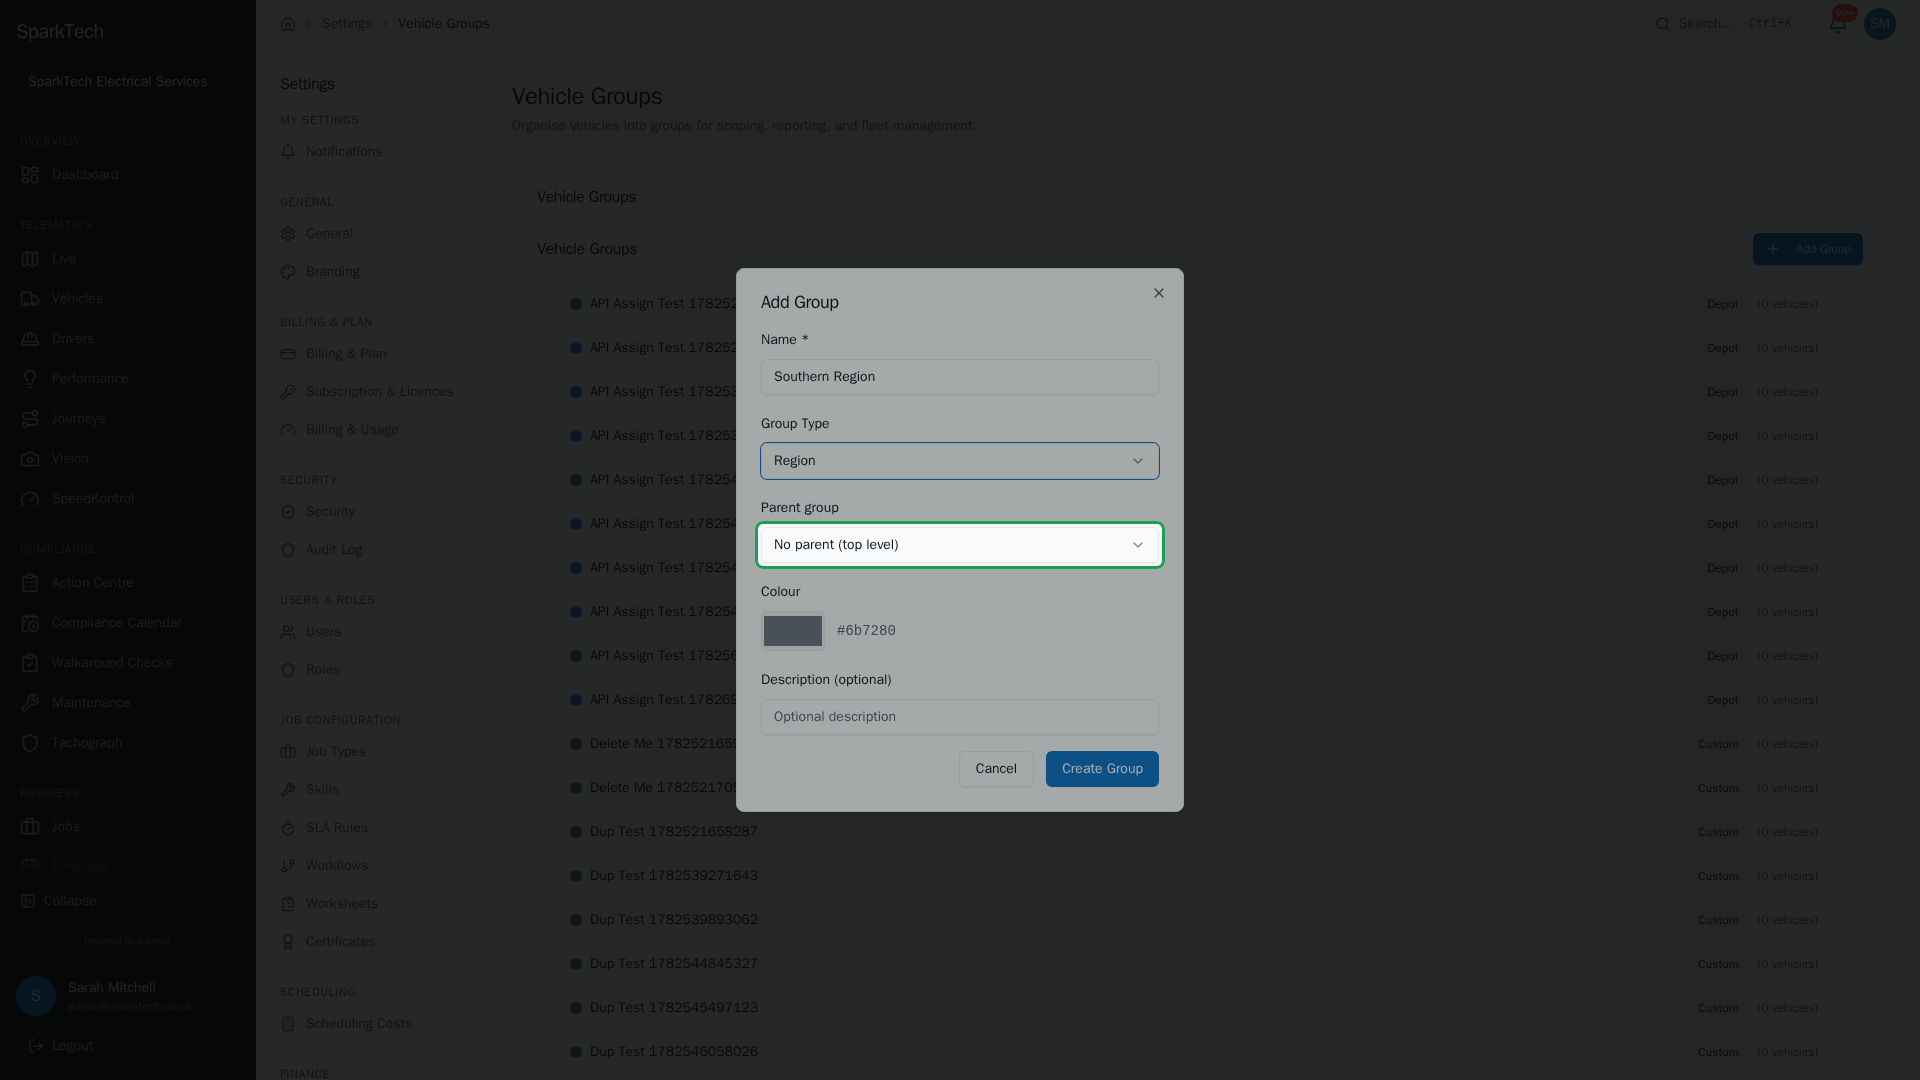
Leave Parent group as No parent for a top-level group, or pick a parent to nest this group inside it.
- Every group has its own actions
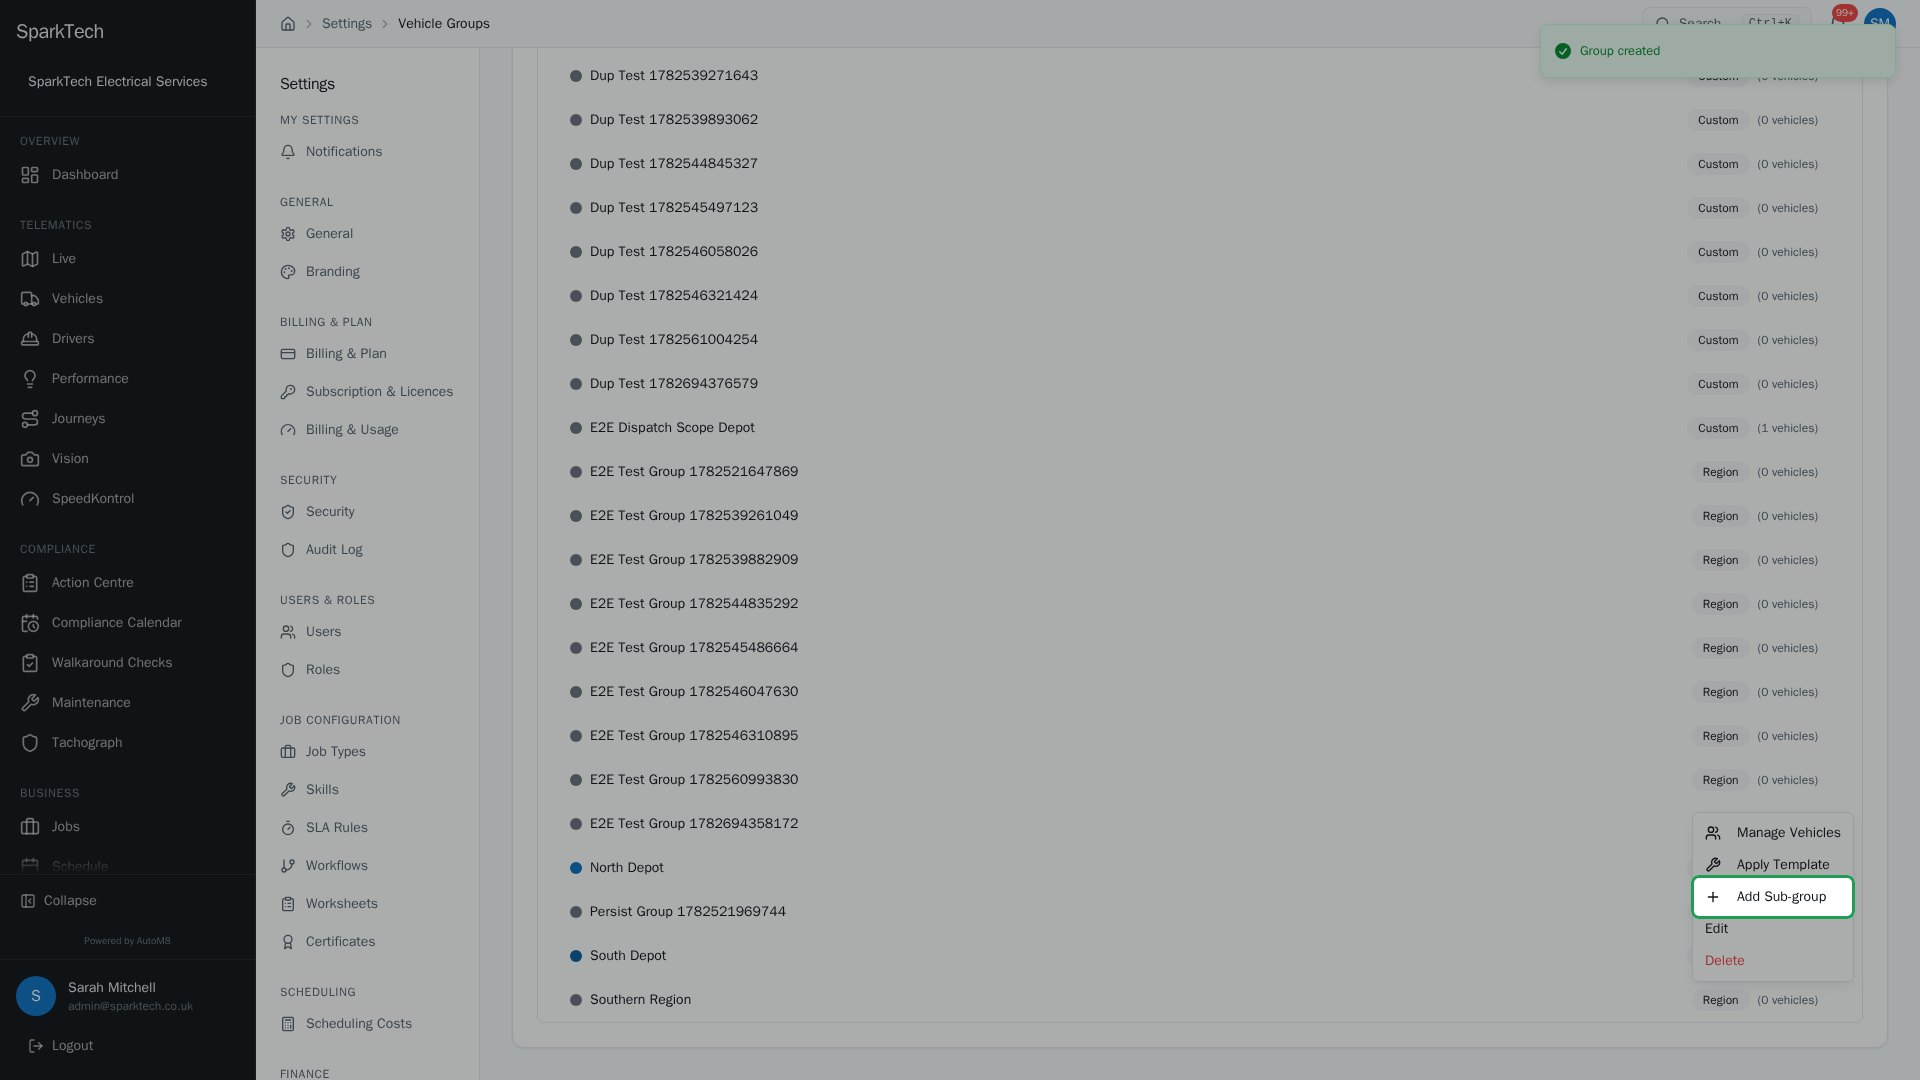
Each group can take a sub-group, be edited or re-parented, or be removed. Add Sub-group nests a new group beneath this one.
- Move vehicles into the group
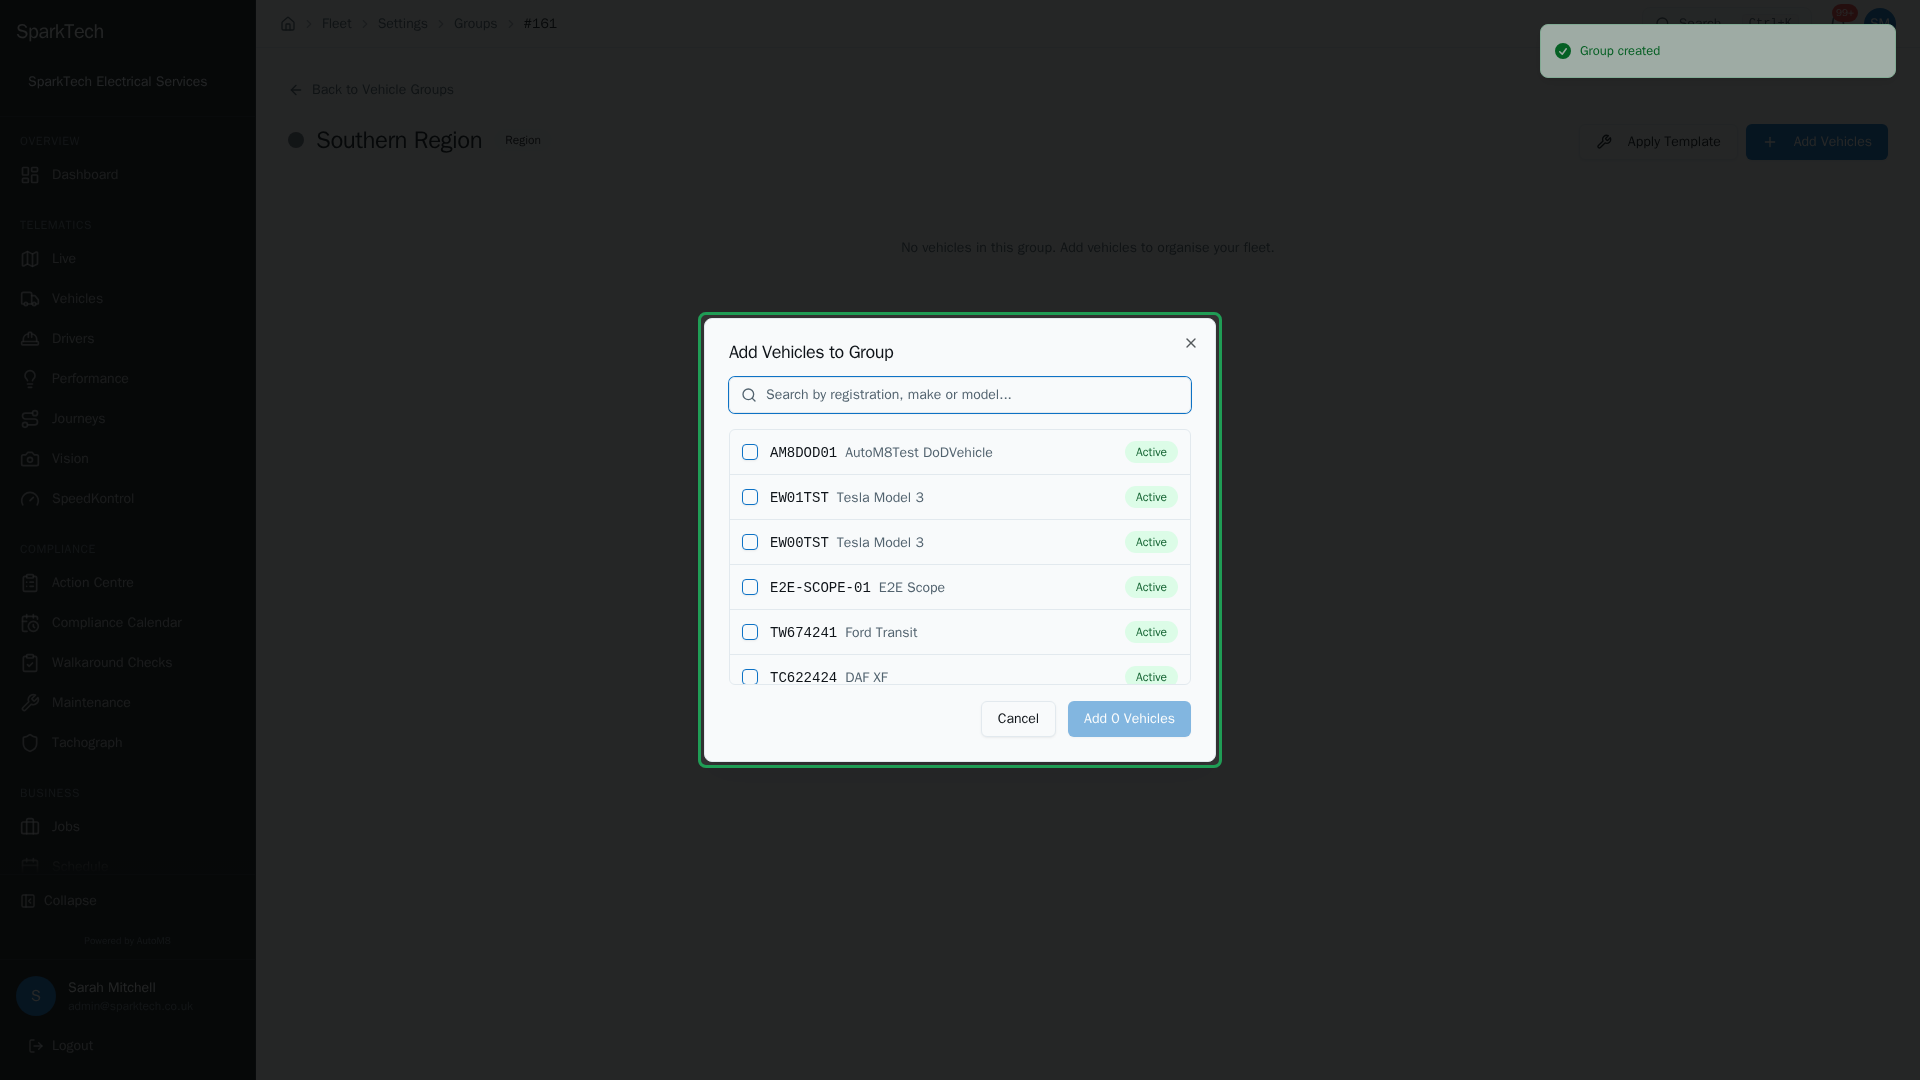
Open the group and choose Add Vehicles. A vehicle belongs to one group, so adding it here moves it from any group it was in before.
Vehicle groups organise your fleet into a tree - for example by depot, region, department or customer. Groups do three jobs: they control who can see which vehicles (visibility scope), they break down your reports, and they scope your alert rules. Setting them up well is worth the time, because almost everything else builds on them.
Permissions. Vehicle groups live at Settings > Fleet > Vehicle Groups. Seeing groups needs Vehicles View; creating, editing, moving or deleting them needs Vehicles Manage - both in the FMS (Fleet Management) group under Settings > Roles and Permissions. Administrator and Manager include them by default.
Creating a group
Who can do this: any role with the Vehicles Manage permission.
- Go to Settings > Fleet > Vehicle Groups.
- Choose Add Group.
- Fill in the group:
| Field | What it does |
|---|---|
| Name | The group’s label. Required. |
| Group Type | Depot, Department, Region, Customer or Custom. Pick the one that matches how you actually split the fleet - it is used for reporting and scoping. |
| Parent group | Where the group sits in the tree. Leave it as No parent (top level) for a top-level group, or pick a parent to make this a sub-group (see below). |
| Colour | The dot shown next to the group on maps and lists, so you can tell groups apart at a glance. |
| Description | An optional note for your own reference. |
- Choose Create Group.
Nesting groups (sub-groups)
Who can do this: any role with the Vehicles Manage permission.
Groups form a tree, so a group can sit under another group - for example depots under a region, or teams under a depot. To add a sub-group:
- On the Vehicle Groups tree, find the group you want the new one to sit under.
- Use its row menu and choose Add Sub-group.
- Fill in the group as above and choose Create Group. Its Parent group is already set to the group you started from.
The tree shows sub-groups indented under their parent, so the shape of your fleet is visible at a glance.
Moving a group to a different parent
Who can do this: any role with the Vehicles Manage permission.
You can re-parent an existing group - move a whole branch of the tree somewhere else - without rebuilding it.
- On the Vehicle Groups tree, open the group’s row menu and choose Edit.
- Change the Parent group selector to the new parent, or to No parent (top level) to lift it to the top of the tree.
- Choose Save Changes.
The group, and everything nested under it, moves together. You cannot move a group into one of its own sub-groups (that would create a loop), so those options are not offered.
Moving vehicles between groups
Who can do this: any role with the Vehicles Manage permission.
A vehicle belongs to one group at a time, so moving a vehicle means reassigning it. You do this from the group’s own page, not from the tree:
- On the Vehicle Groups tree, open a group’s row menu and choose Manage Vehicles (or click the group) to open its page.
- Choose Add Vehicles to open the Add Vehicles to Group picker, search for the vehicles you want, select them and add them. Adding a vehicle that is already in another group moves it here.
- To take a vehicle out, use the X on its row, or select several rows and choose Remove from Group.
Every move is recorded on the vehicle’s timeline, so you always have a history of which group it was in and when.
Deleting a group
Who can do this: any role with the Vehicles Manage permission.
A group can only be deleted once it is empty - it must have no vehicles and no sub-groups. Move or remove those first, then:
- Open the group’s row menu and choose the delete option.
- Confirm with Delete Group.
If you would rather keep the structure but stop using a group, leave it in place - an empty group does no harm.
Groups and who can see what
Groups are how you limit what a user sees. When you give a user a visibility scope of specific groups (rather than the whole fleet), they see the vehicles in those groups and all their sub-groups - which is why the shape of your tree matters. Administrators always see everything and cannot be scoped to groups. You set a user’s scope on their record - see Managing users and Roles and permissions for how group scope decides who sees which vehicles, drivers and journeys.
Related
- Managing users - set each person’s visibility scope to groups.
- Roles and permissions - how group scope controls what people see.
- Fleet settings - the rest of the Fleet area (driver IDs, scoring, checks and cameras).
- Creating and managing vehicles.